Post-construction cleaning is essential after any renovation or building project, ensuring the property is ready for occupancy. Whether you’ve just completed a home renovation or a full-scale construction project in Santa Clara, a proper cleanup process is critical to make the space livable, safe, and visually appealing. Construction dust, debris, and hazardous materials can linger long after the contractors leave, and tackling this cleanup requires more than just sweeping up the floors.
Here, we’ll outline the best practices for post-construction cleaning in Santa Clara to ensure your newly renovated or constructed property is clean, safe, and ready to use.
1. Prioritize Safety
Why It’s Important
Construction sites often leave behind potentially hazardous materials, including nails, sharp objects, leftover chemicals, and heavy dust particles. Before starting the cleaning process, it’s crucial to ensure the safety of the cleaning crew and the residents.
Safety Best Practices:
- Wear Proper Gear: Use personal protective equipment (PPE) like gloves, goggles, masks (preferably N95 or higher), and closed-toed shoes to protect against dust, chemicals, and sharp objects.
- Ventilation: Open windows and use fans to ventilate the area, especially when dealing with dust or strong cleaning chemicals.
- Check for Hazards: Inspect the space for potential dangers such as exposed wiring, unsecured fixtures, or heavy debris that may require special handling.
- Safe Disposal of Materials: Handle construction waste carefully, especially hazardous materials like leftover paint, adhesives, or chemicals. Ensure proper disposal based on local Santa Clara regulations for hazardous waste.
2. Clear Out Debris and Waste
Start with the Big Stuff
Begin by removing all large debris left behind after construction. This includes lumber scraps, drywall pieces, nails, screws, and any other bulky materials. It’s important to clear out this debris first, as it allows you to work more efficiently and prevents accidents.
Best Practices:
- Use Heavy-Duty Bags: Construction debris can be sharp or heavy, so use durable contractor-grade trash bags or bins that won’t rip under the weight of the materials.
- Sort Recyclables: Many construction materials, like metal, glass, and certain plastics, can be recycled. Separating recyclables from trash reduces waste and adheres to Santa Clara’s sustainability guidelines.
- Use Dumpsters or Hauling Services: For larger projects, renting a dumpster or hiring a hauling service may be necessary to remove large amounts of waste.
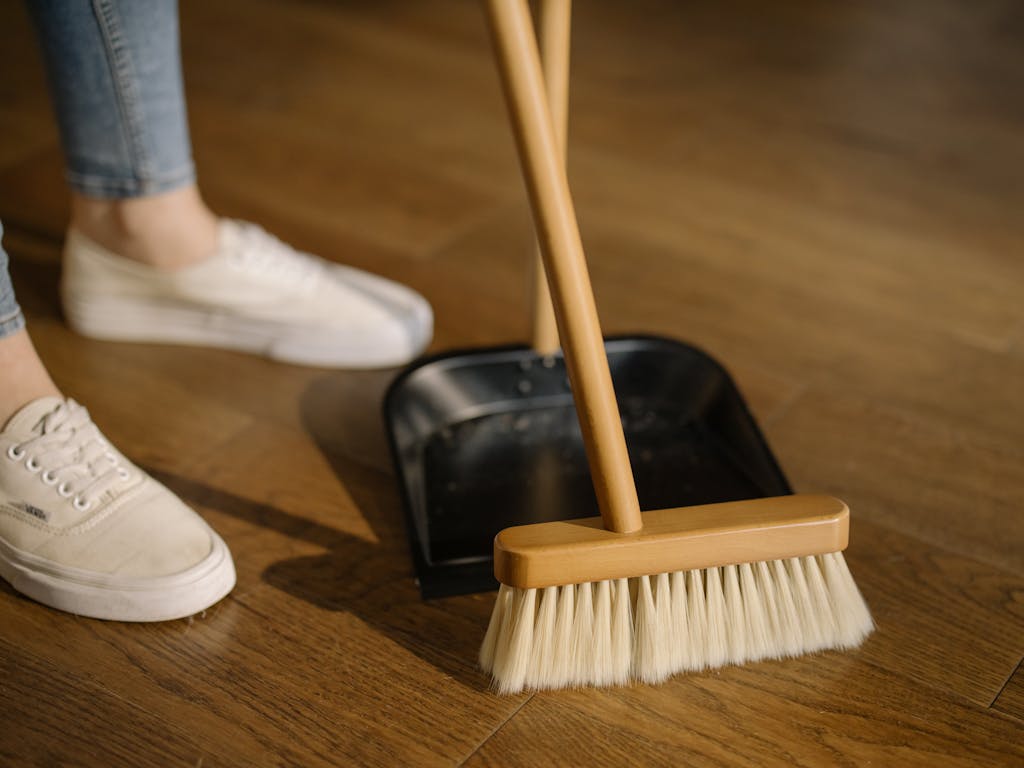
3. Remove Dust from Every Surface
Dust: The Biggest Culprit
Dust is the most prevalent issue after construction. It settles on every surface, including walls, floors, fixtures, and in hidden areas like air vents or behind furniture. Post-construction dust isn’t just unsightly; it can also cause respiratory issues if left untreated.
Best Practices:
- Dust from Top to Bottom: Start cleaning at the highest points, such as ceilings, light fixtures, and crown moldings, and work your way down to lower surfaces like walls, furniture, and finally the floors. This ensures that dust falls downward and doesn’t re-settle on already cleaned surfaces.
- Use Microfiber Cloths: Microfiber cloths are ideal for trapping dust without spreading it around. Avoid feather dusters, which tend to just displace dust.
- Vacuum Regularly: Use a vacuum with a HEPA filter to clean carpets, rugs, and upholstered furniture. HEPA filters are excellent at trapping fine dust particles that regular vacuums might miss.
- Wipe Down Walls: Don’t forget to dust and wipe down walls, even if they look clean. Construction dust often clings to painted or smooth surfaces and can be hard to spot at first glance.
- Clean Air Vents and HVAC Filters: Dust can accumulate in the HVAC system during construction, affecting air quality. Clean the vents and replace HVAC filters to ensure that dust isn’t recirculated through the home.
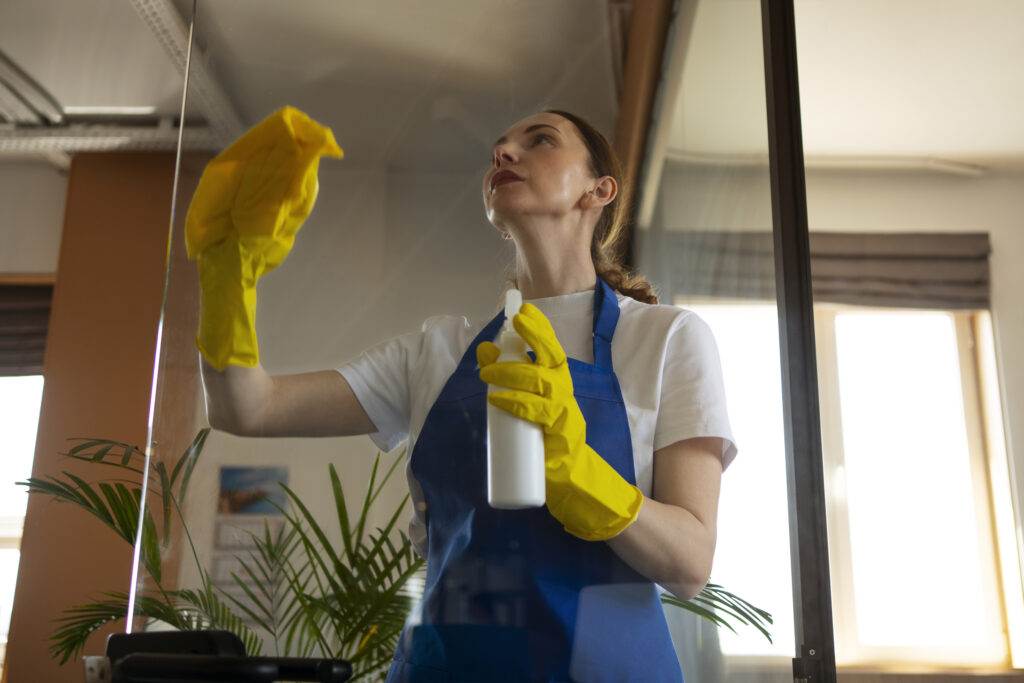
4. Pay Special Attention to Windows and Doors
Windows Are Dust Magnets
Construction projects often leave windows coated in layers of dust, grime, and sometimes paint splatter or adhesive residue. Clean windows are essential for allowing natural light into the home and improving the overall aesthetic.
Best Practices for Windows:
- Use Glass-Safe Cleaners: Clean windows with a streak-free glass cleaner, or use a solution of water and vinegar for an eco-friendly option. Avoid using abrasive materials that can scratch the glass.
- Remove Paint or Adhesive: For stubborn paint splatters or adhesives, use a plastic scraper or a blade with caution. Apply warm water or a window-safe solvent to loosen the residue before scraping.
- Wipe Down Window Frames and Sills: Dust and dirt can settle in the window sills, so be sure to clean these areas thoroughly. Use a vacuum or a damp cloth to remove debris from crevices.
Doors and Frames:
- Wipe Down Doors and Handles: Dust can accumulate on doors and door frames, especially if they were installed or sanded during construction. Clean these surfaces with a mild cleaner and pay attention to the areas around handles and hinges.
- Check and Clean Thresholds: Door thresholds can collect dust and dirt, especially if workers have been walking in and out of the property. Vacuum and wipe down these areas to prevent tracking dirt into clean spaces.
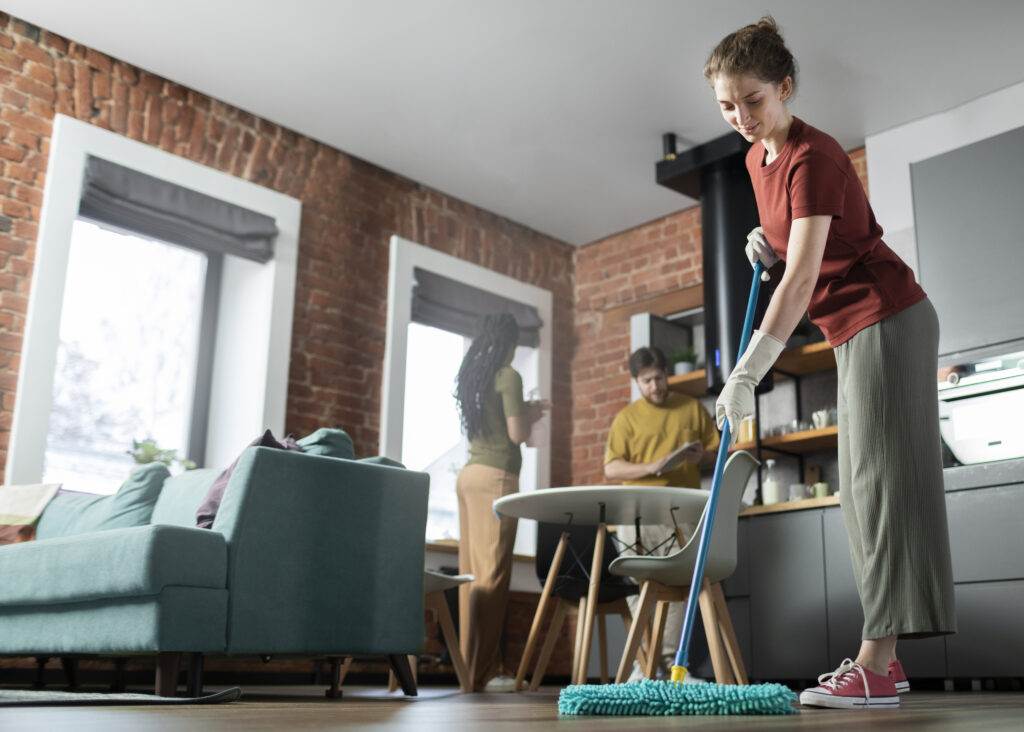
5. Thoroughly Clean the Floors
Different Flooring, Different Methods
Construction sites often leave behind potentially hazardous materials, including nails, sharp objects, leftover chemicals, and heavy dust particles. Before starting the cleaning process, it’s crucial to ensure the safety of the cleaning crew and the residents.
Best Practices for Different Floor Types:
- Hardwood Floors: Start by vacuuming or sweeping to remove loose debris. Use a damp mop with a wood-safe cleaner, but avoid soaking the floor to prevent water damage. Buff the floors to remove any scuff marks or dull patches left by construction boots or equipment.
- Tile and Grout: Vacuum or sweep first to remove dust. Then mop with a pH-neutral tile cleaner to prevent streaking or damage to the grout. Pay special attention to grout lines, as dust and debris can settle in these crevices.
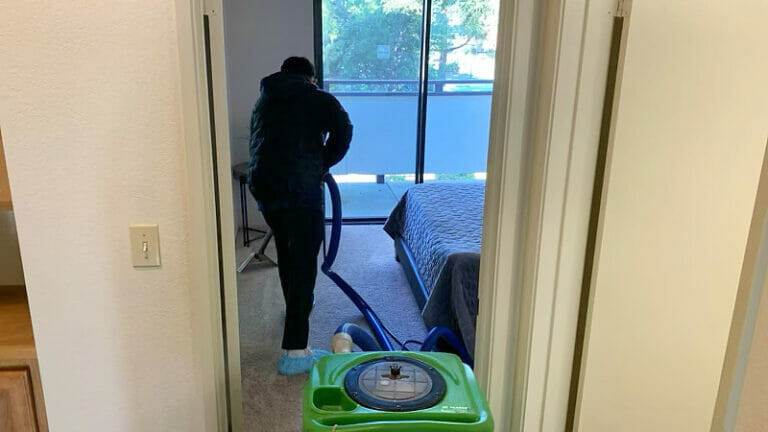
- Carpets: Vacuum carpets thoroughly with a vacuum equipped with a HEPA filter to remove fine dust particles. For heavily soiled areas or high-traffic zones, consider professional carpet cleaning to ensure the removal of construction debris embedded deep in the carpet fibers.
- Vinyl or Laminate: These floors should be vacuumed or swept first to remove dirt and debris. Clean with a damp mop and a floor-safe cleaner. Avoid using excessive water, as it can seep between the seams of laminate flooring and cause swelling or warping.
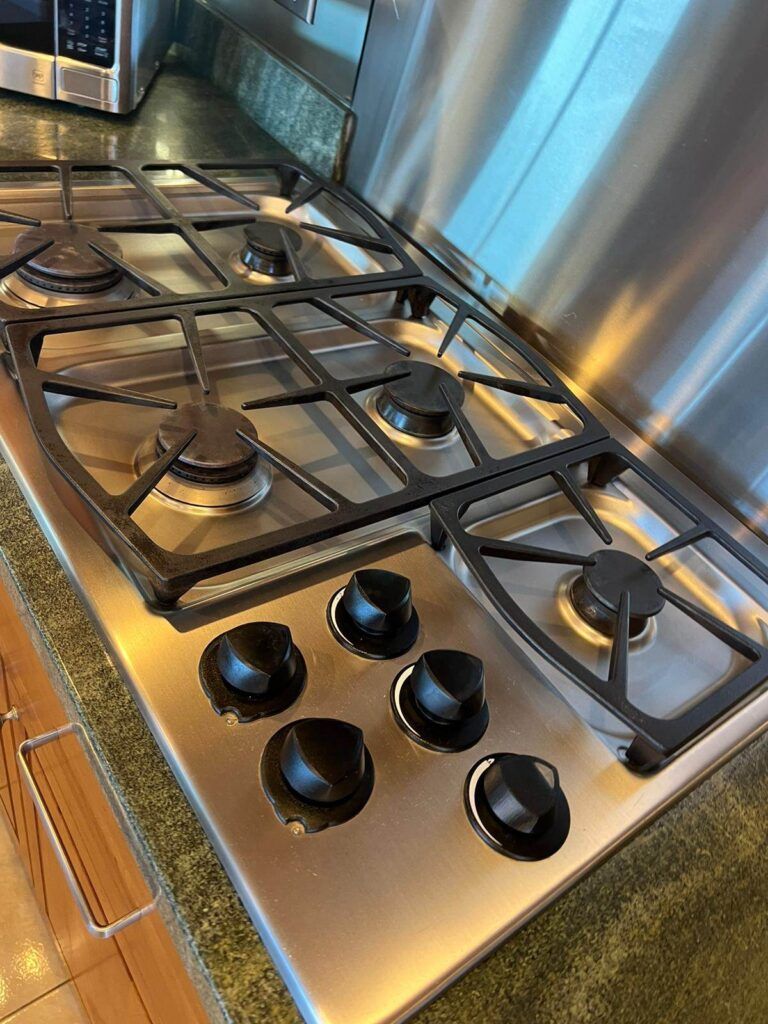
6. Don’t Forget Fixtures and Appliances
Fixtures and Appliances Collect Dust Too
Light fixtures, ceiling fans, and built-in appliances are often overlooked during post-construction cleaning but tend to accumulate a significant amount of dust and debris.
Best Practices:
- Light Fixtures: Dust or wipe down light fixtures, chandeliers, and ceiling fans. For hanging fixtures, use a ladder and ensure you clean each component thoroughly.
- Cabinets and Shelves: Dust can settle on the tops of cabinets, inside drawers, and on shelves. Wipe down all surfaces inside and out, including hard-to-reach areas.
- Appliances: If your construction project involved a kitchen renovation, be sure to clean inside and around appliances like the stove, refrigerator, and dishwasher. Remove any stickers or protective film left behind after installation, and wipe down surfaces to remove dust and construction debris.

7. Final Touches: Sanitizing and Polishing
Beyond Dust: Focus on Cleanliness
Once all dust and debris have been removed, it’s time to focus on sanitizing high-touch areas and adding final polishing touches to make the space shine.
Best Practices:
- Sanitize Surfaces: Use disinfecting wipes or a sanitizing solution to clean high-touch areas like doorknobs, light switches, countertops, and appliance handles.
- Polish Fixtures: Polishing metal fixtures, like faucets, handles, and light fixtures, adds a final gleam to your cleaned space. Use the appropriate polish or cleaner for the material (e.g., stainless steel or brass) to bring out their shine.
- Steam Clean Carpets or Upholstery: If your post-construction project involved carpeted areas or upholstered furniture, consider steam cleaning to remove any lingering dust or allergens.
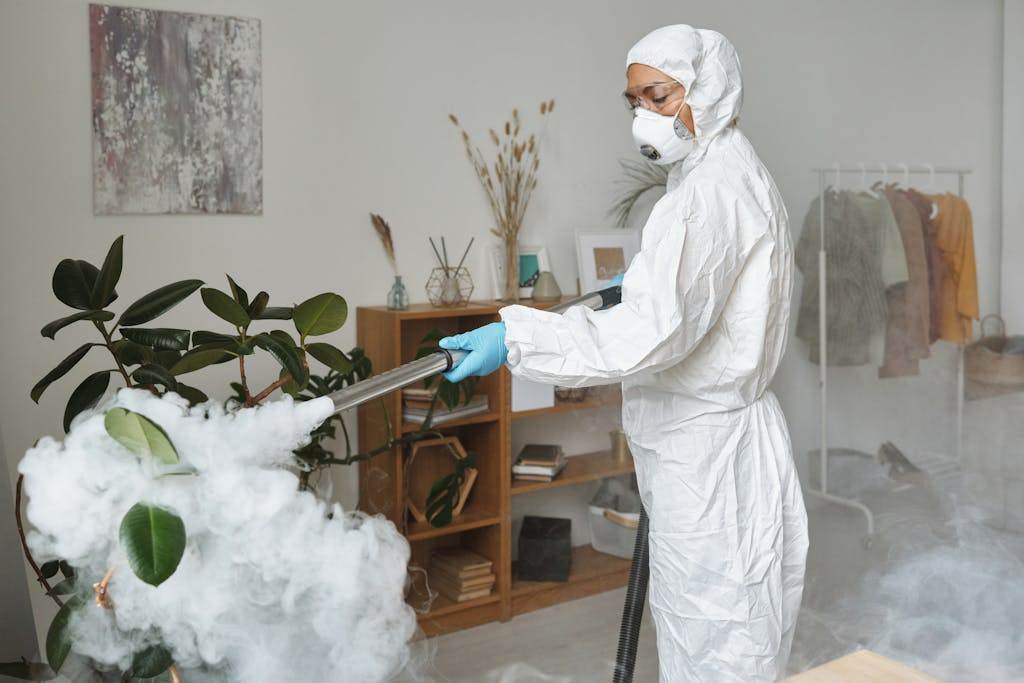
8. Consider Hiring Professional Post-Construction Cleaners
When to Call the Pros
Post-construction cleaning can be overwhelming, particularly for large projects or commercial spaces. If you’re short on time or lack the necessary tools and expertise, hiring a professional post-construction cleaning service in Santa Clara can ensure a thorough and efficient cleaning process.
Benefits of Professional Cleaners:
- Specialized Equipment: Professionals use industrial-strength vacuums, cleaners, and tools to tackle even the most challenging post-construction messes.
- Expertise: Trained cleaners know how to handle delicate surfaces, hazardous materials, and hard-to-reach areas that homeowners might overlook.
- Time-Saving: A professional team can get the job done quickly, allowing you to enjoy your newly renovated space sooner.
Conclusion
Post-construction cleaning is a detailed and labor-intensive process that requires careful attention to safety, thoroughness, and the use of proper techniques. By following these best practices, homeowners and business owners in Santa Clara can ensure that their spaces are left spotless, safe, and ready for use. Whether you choose to tackle the job yourself or hire professional cleaners, a clean, dust-free environment