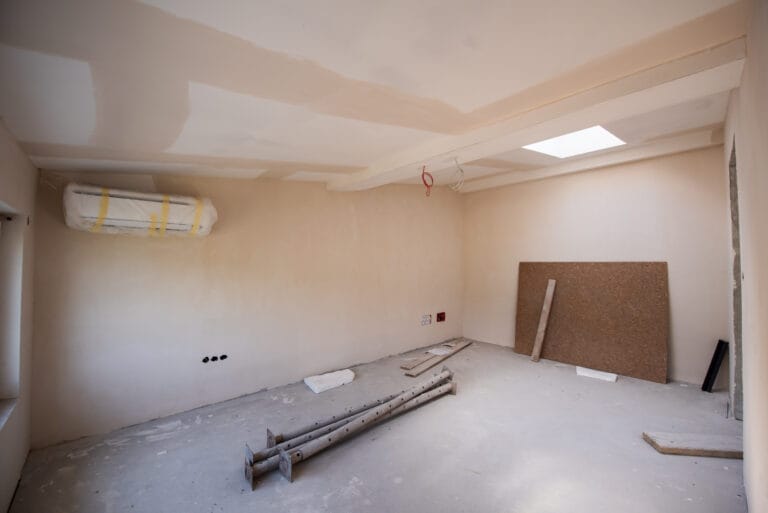
Home renovation or new construction can be exciting, but the aftermath often leaves homeowners with a significant mess. Dust, debris, and construction materials can settle everywhere, making your home feel chaotic. In San Jose, where home improvement projects are common, knowing how to tackle post-construction cleaning is key to enjoying your newly renovated space. This post-construction cleaning checklist is designed specifically for San Jose homeowners who want to make sure their home is safe, clean, and ready for use after any construction project.
Why Post-Construction Cleaning is Crucial?
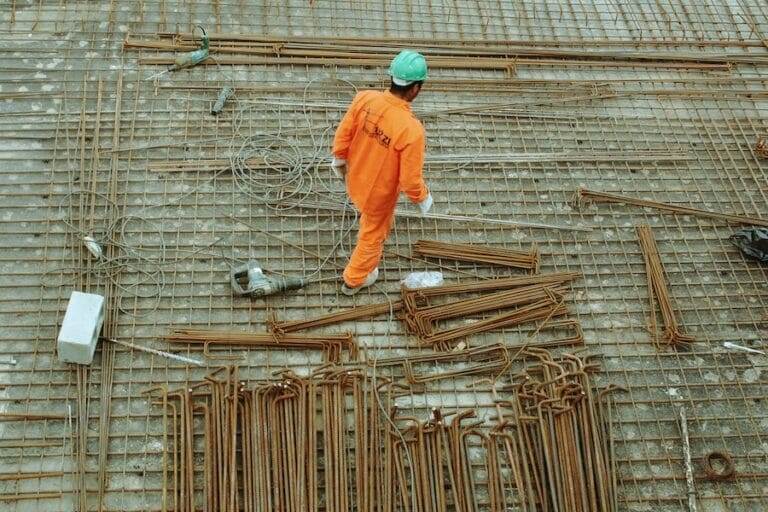
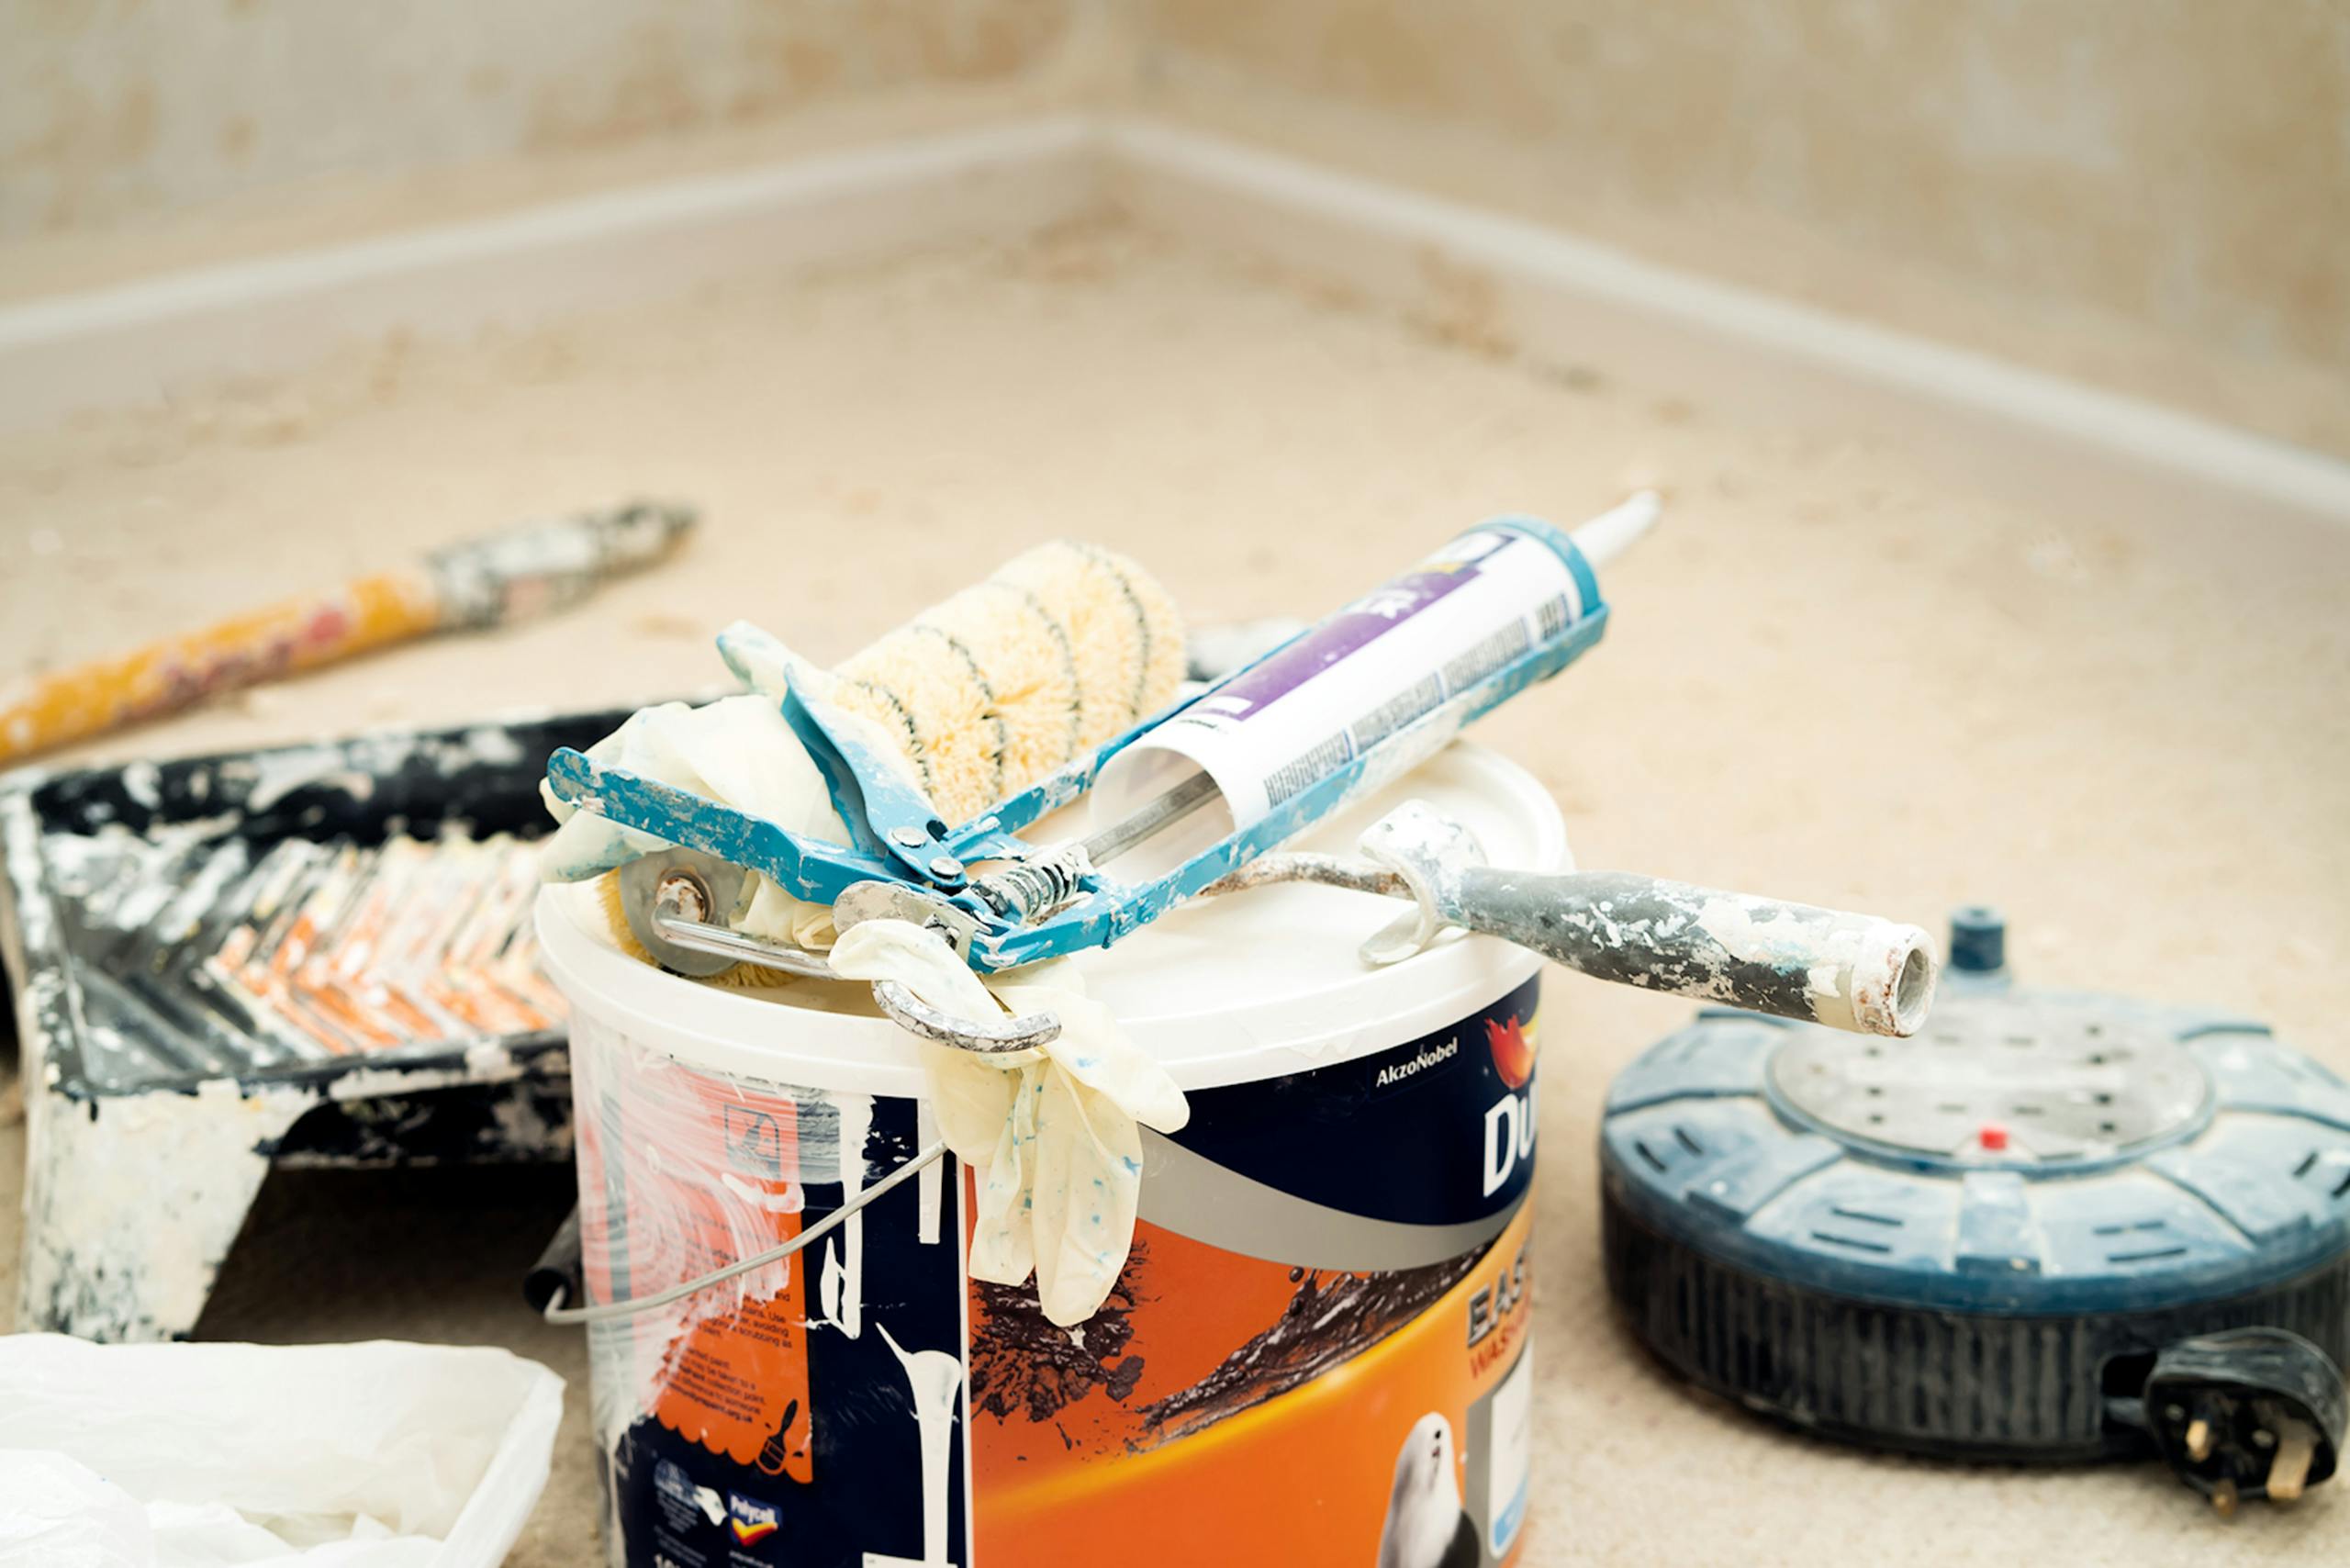
Construction debris and dust can pose health risks, especially if you or your family members suffer from allergies, asthma, or respiratory issues. Fine dust particles from drywall, wood, and cement can linger in the air long after the project is done, and other materials like nails, screws, and wood splinters may pose physical hazards.
In addition to safety and health concerns, thorough cleaning ensures that your new finishes—whether freshly painted walls, new floors, or brand-new fixtures—are free from damage caused by leftover debris. Whether you hire a professional cleaning service or take on the task yourself, the following checklist will guide you through every essential step.
Tools and Supplies You’ll Need
With these supplies on hand, you’ll be ready to tackle each area of your home systematically. Now, let’s walk through the step-by-step process of cleaning your home post-construction.
Room-by-Room Post-Construction Cleaning Checklist
Start with the Walls and Ceilings
Construction dust tends to settle on every surface, including walls and ceilings. Before you begin cleaning the floors or furniture, it’s essential to start from the top and work your way down.

Dust the Walls
Use a microfiber cloth or duster to wipe down the walls and remove dust. Don’t forget baseboards and moldings, which often collect dust and debris.
Ceiling Fans and Light Fixtures
Dust and wipe down any ceiling fans, chandeliers, or light fixtures. Ensure that all bulbs are clean and free from dirt. You may need a ladder to reach higher fixtures.
Inspect for Scuff Marks
Construction workers may leave marks on your walls from tools or equipment. A gentle cleaner and a microfiber cloth should help remove most scuff marks.
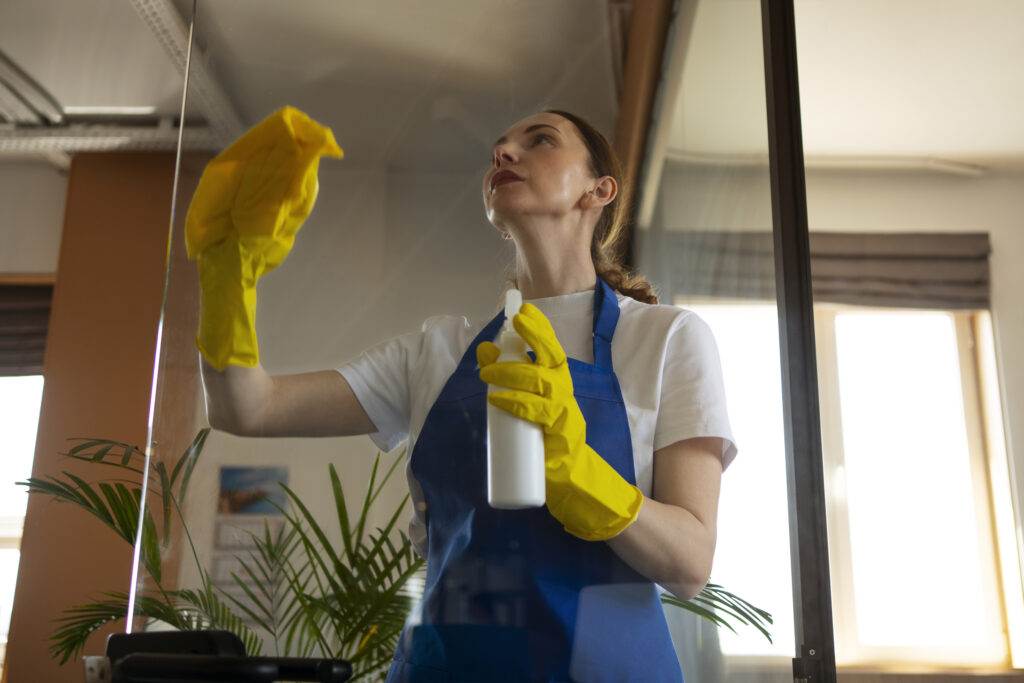
Clean Windows and Window Frames
Windows can collect a significant amount of dust and dirt during construction, especially if they’ve been open during the renovation.
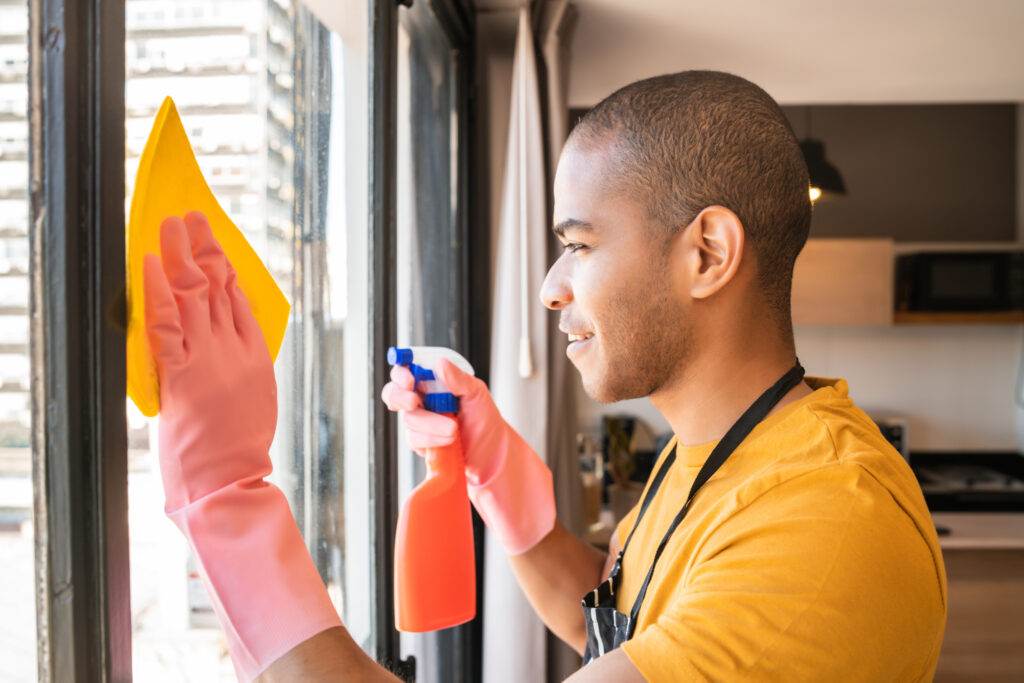
Here’s how to clean them:
Clean the Glass
Use a glass cleaner and a lint-free cloth to clean all window panes. Pay special attention to corners where dust tends to accumulate.
Dust Window Frames and Sills
Wipe down the window frames, sills, and tracks. If the tracks are especially dirty, use a small brush or a vacuum with a nozzle attachment to remove debris.
Check for Stickers or Residue
If your project involved new window installation, there may be adhesive residue or stickers that need to be removed. A window scraper or a soft plastic tool can help remove any adhesive without damaging the glass.
Thoroughly Clean Floors
One of the most critical parts of post-construction cleaning is tackling the floors. Whether you have hardwood, tile, or carpet, the floors will likely have a thick layer of dust and debris.
Sweep or Vacuum First
Begin by sweeping or vacuuming all floors, including corners and under furniture. If you’re using a vacuum, ensure it has a HEPA filter to trap fine dust particles effectively.
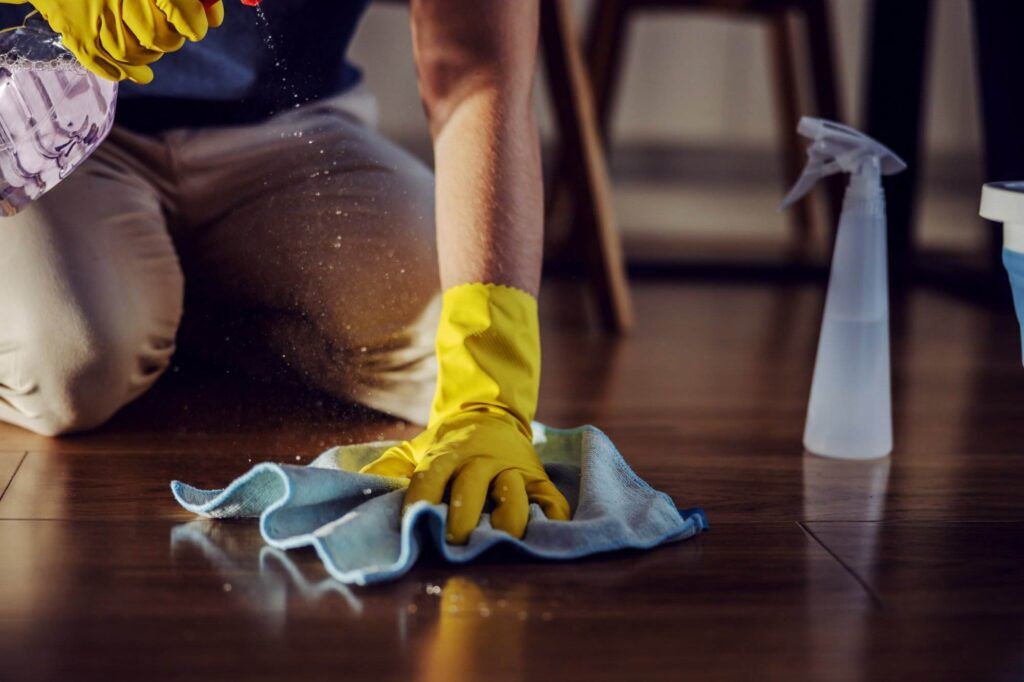
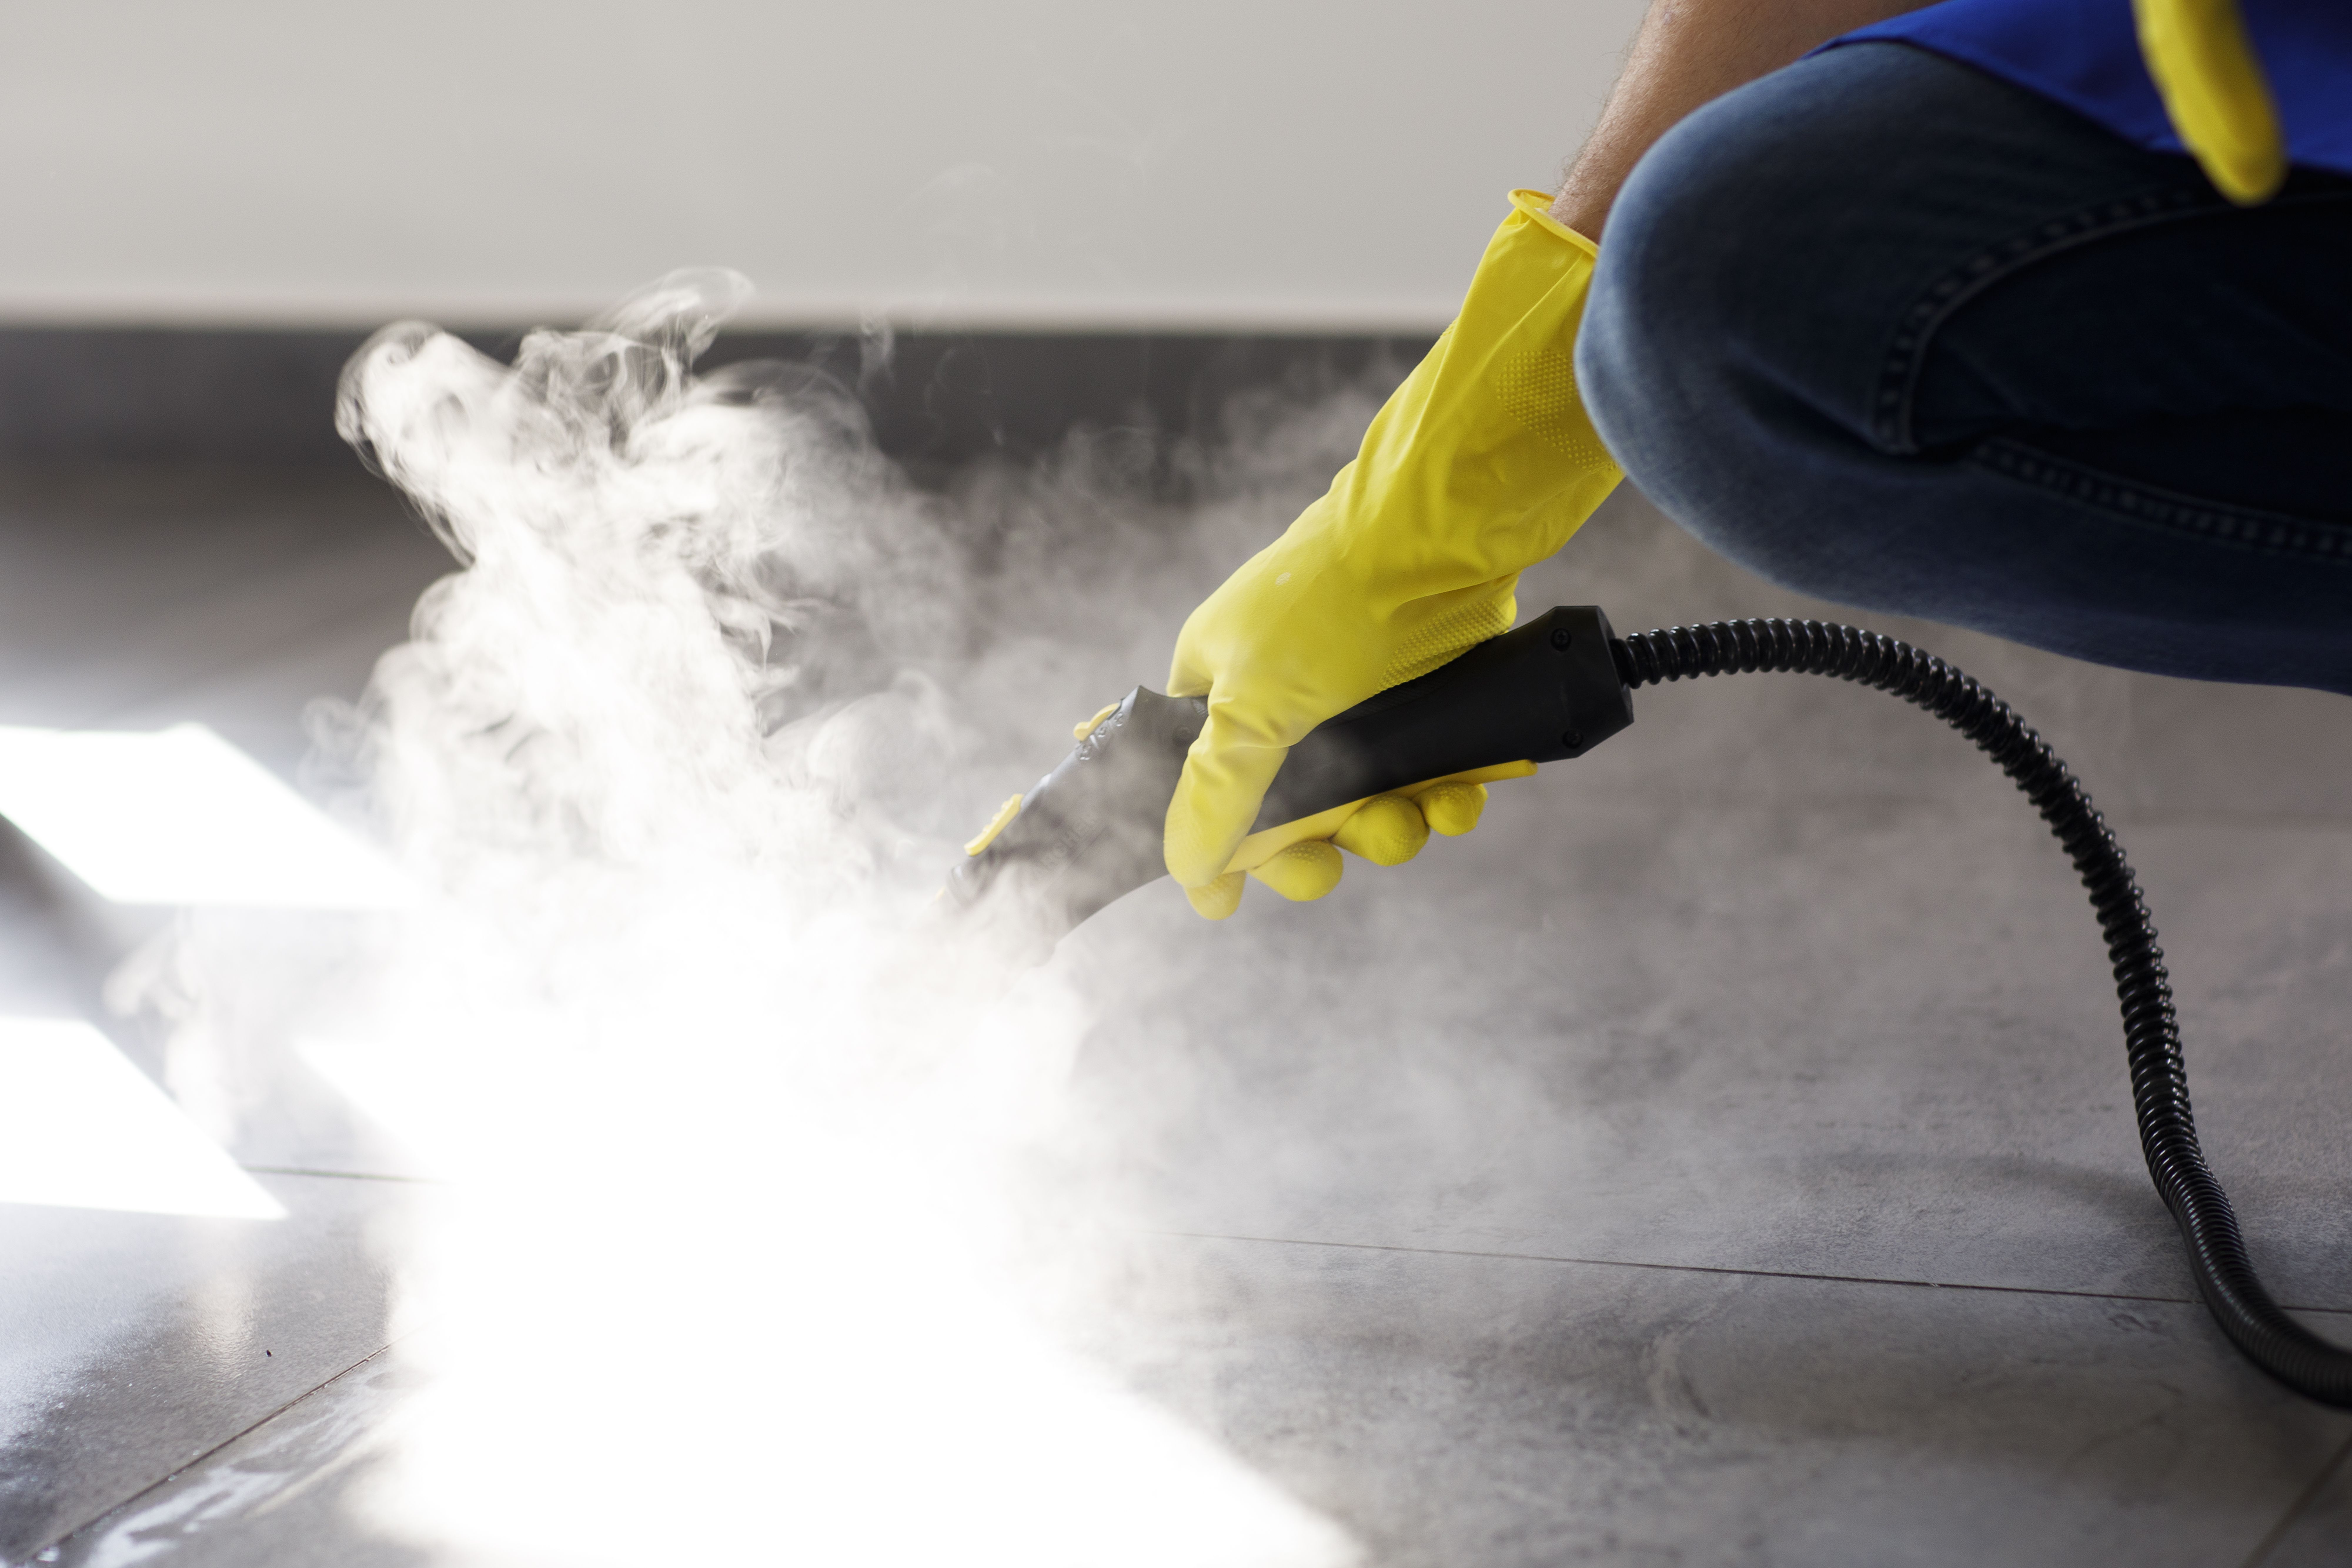
Mop or Deep Clean
After sweeping or vacuuming, mop the floors with a cleaner that’s safe for your specific flooring type. For hardwood, use a wood-safe cleaner, while tile or vinyl may require a different type of solution. For carpets, consider steam cleaning or vacuuming with a deep-cleaning machine.
Polish or Wax
If your floors are hardwood and have been newly refinished, follow up with the recommended polish or wax to protect the surface and give them a final shine.
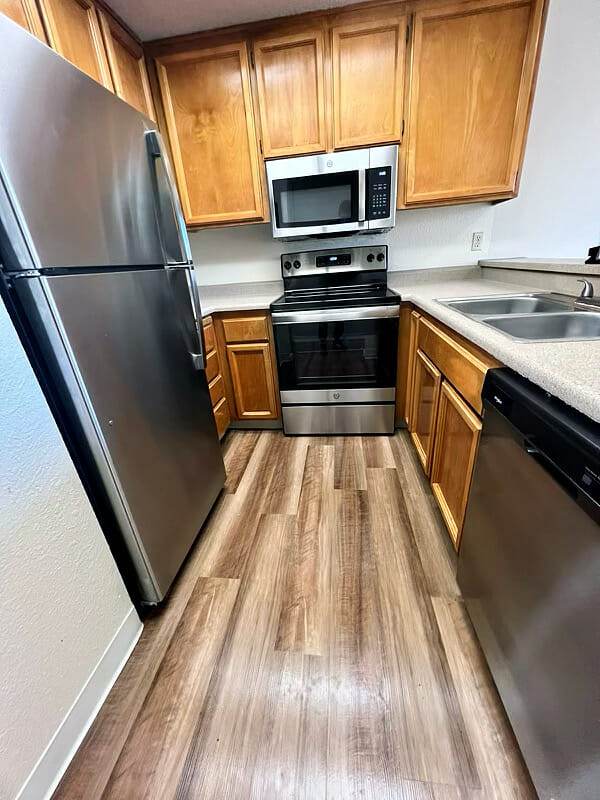
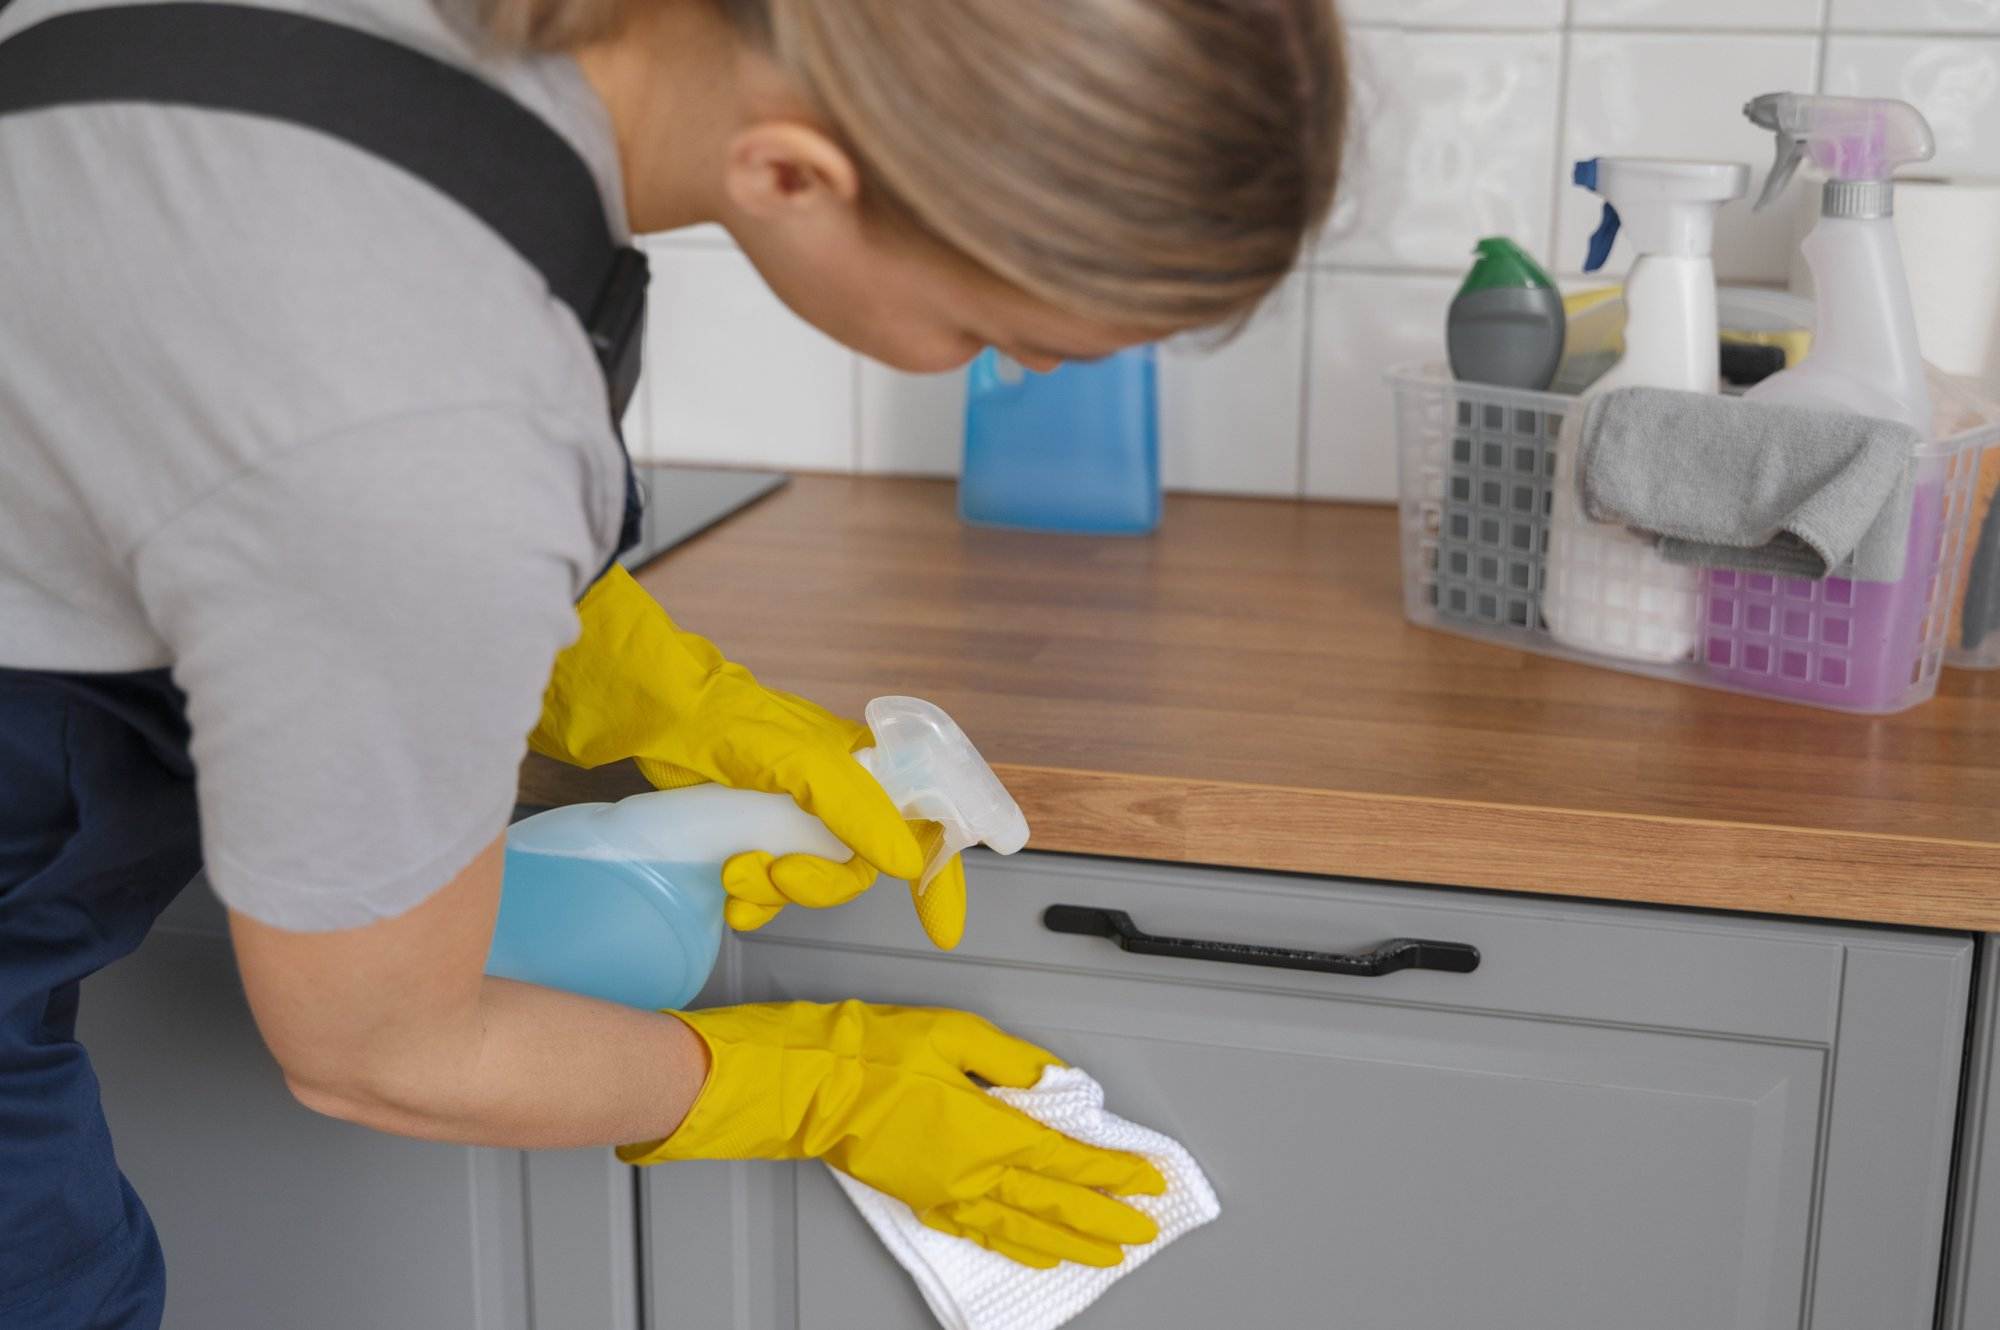
Address Cabinets, Shelving, and Counters
Kitchen and bathroom cabinets, as well as built-in shelving, often collect dust and debris during construction.
Wipe Down Shelves
Start by wiping down all shelves, drawers, and countertops with a damp microfiber cloth. Be sure to clean both inside and outside of any cabinets.
Check for Construction Residue
Construction adhesives, sawdust, or grime may have accumulated in drawers or on counters. Use a gentle cleaner that’s safe for your surfaces to remove residue without causing damage.
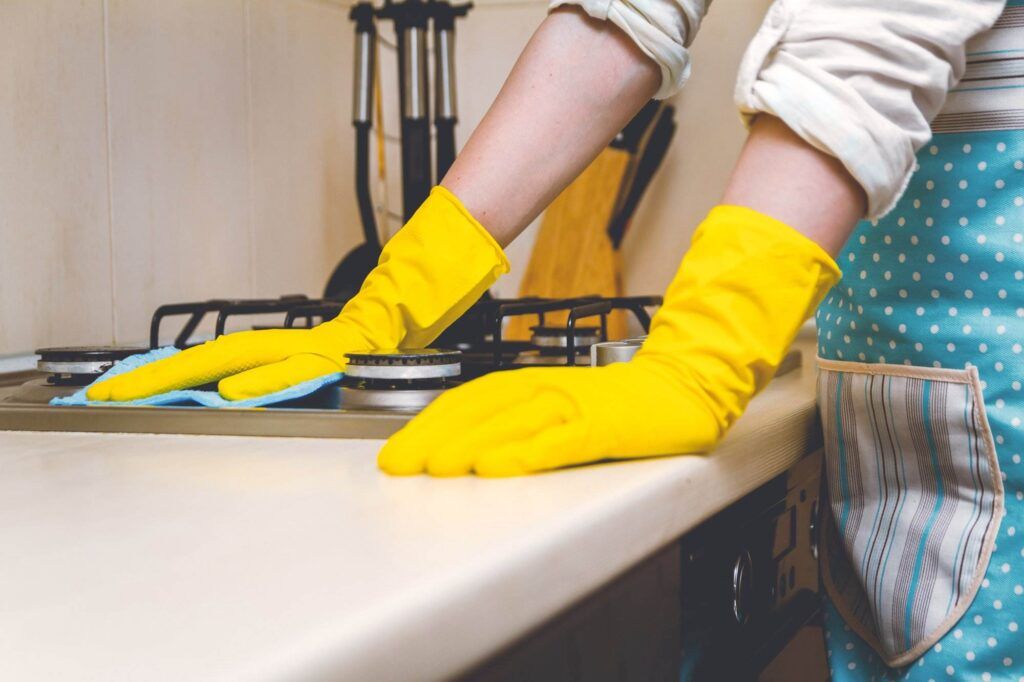
Sanitize Surfaces
After removing dust and debris, use a disinfecting cleaner to sanitize countertops and frequently-touched areas, like cabinet handles and doorknobs.
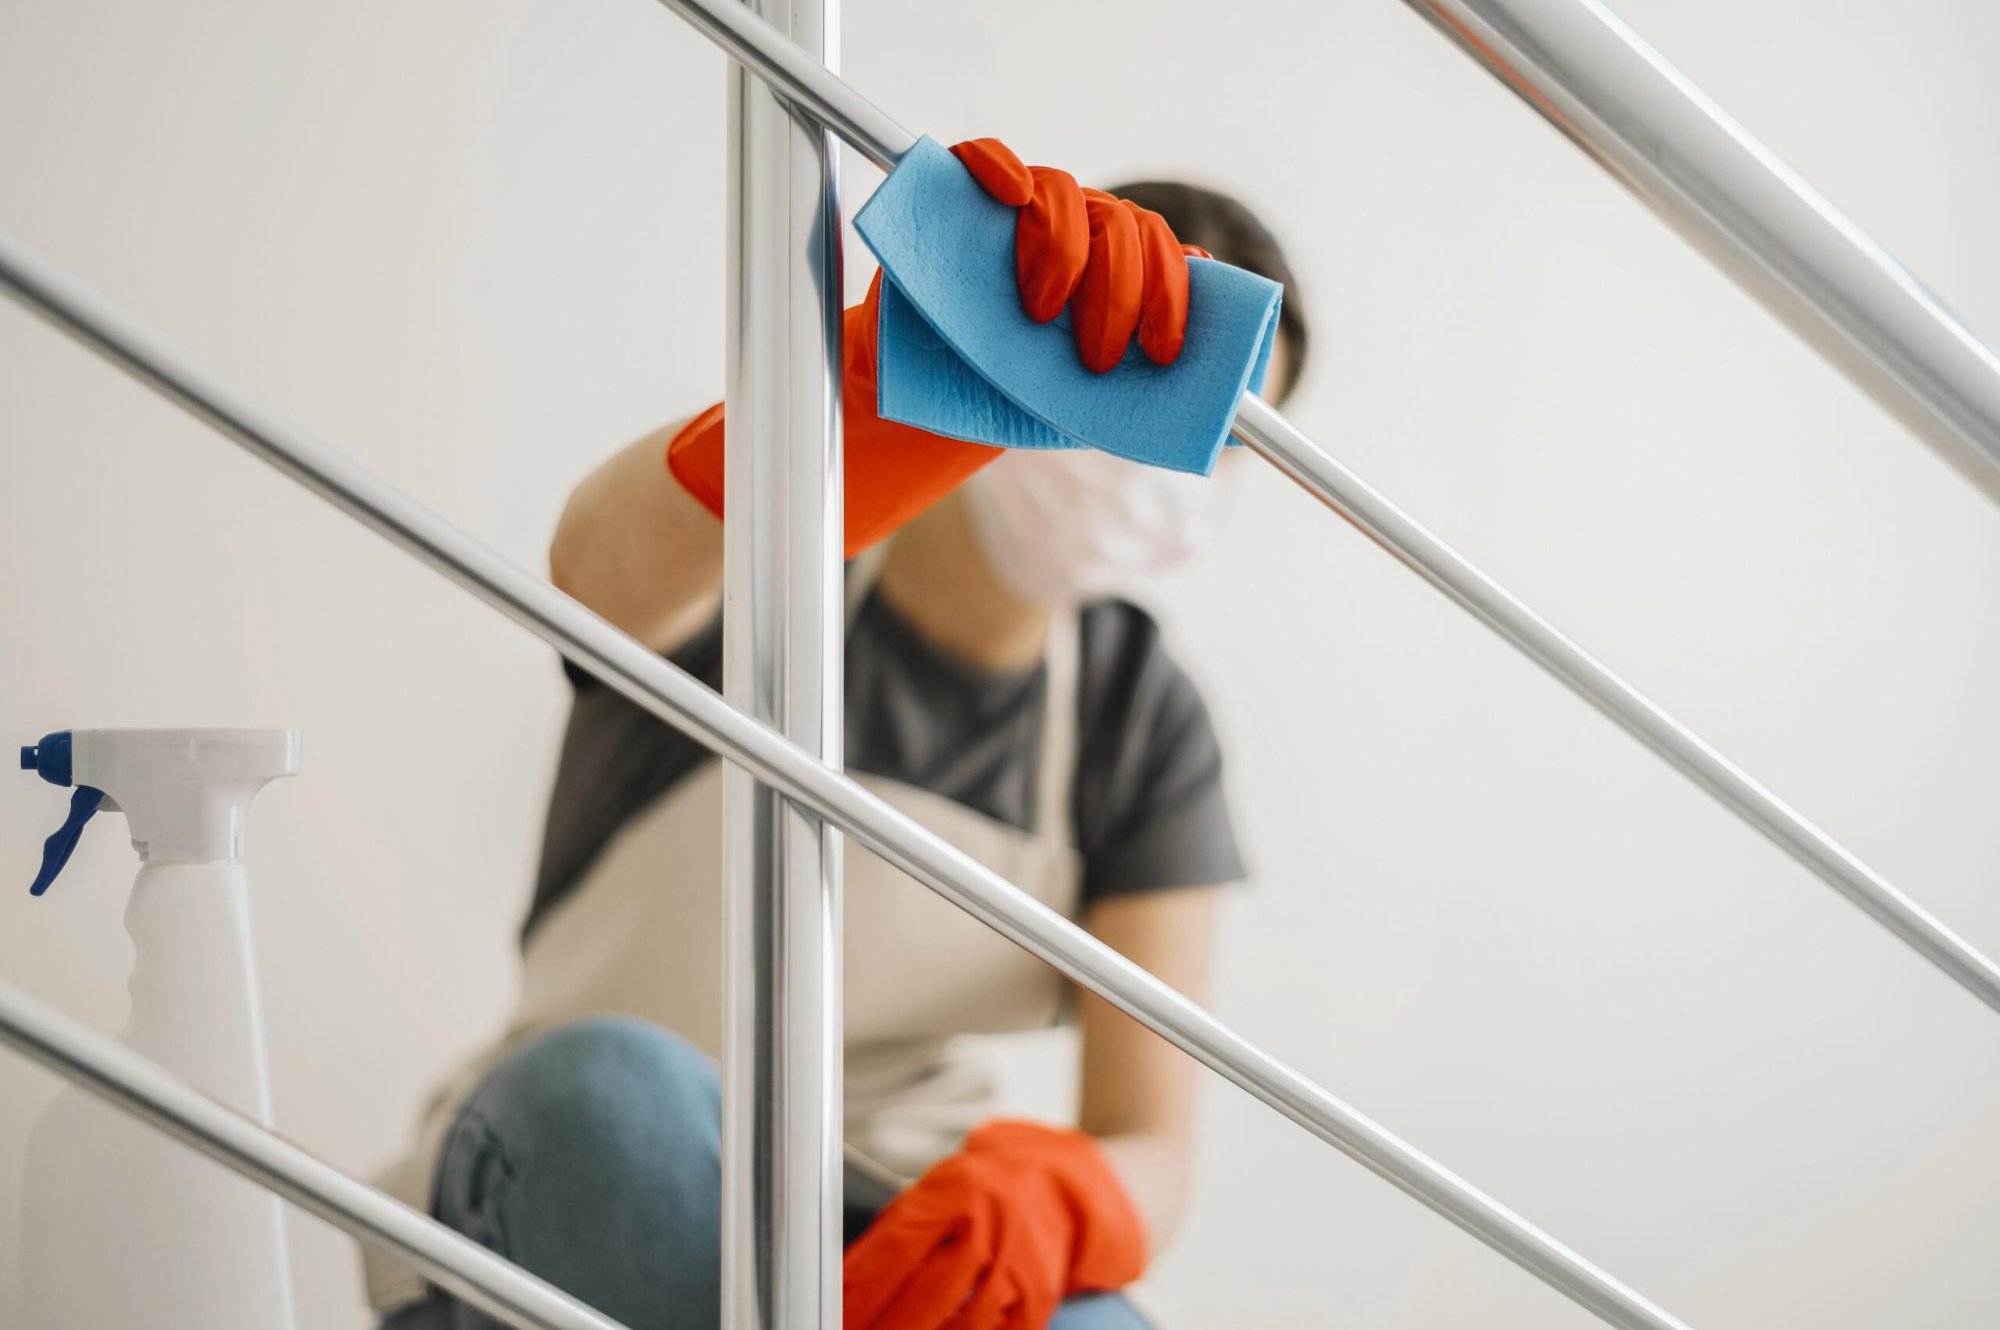
Clean Doors, Door Frames, and Trim
Doors and door frames can become dusty or smudged during construction.
Here’s how to clean them:
Dust the Door Frames
Use a microfiber cloth to dust the top of door frames, where dust tends to accumulate.
Wipe Down the Doors
Clean both sides of each door with a multi-surface cleaner, paying attention to the edges, handles, and locks.
Check Trim for Damage
While cleaning the door frames and trim, check for any minor damage, such as chips or scuffs, and make repairs as needed.

Key Areas That Are Often Missed
Even with a thorough cleaning, some areas can easily be overlooked during a post-construction cleanup. Here’s a quick checklist to ensure nothing is missed:
Behind and Under Furniture: Dust tends to accumulate in hard-to-reach areas.
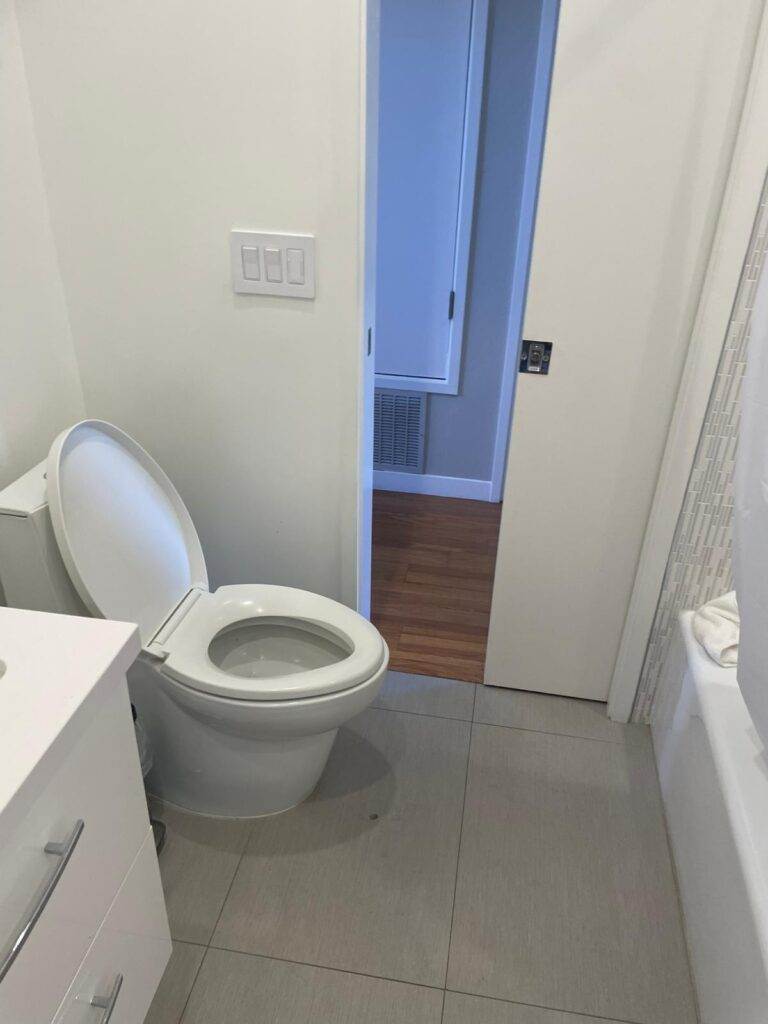
Light Switches and Electrical Outlets: Wipe down all light switches, outlet covers, and electrical plates.
Closet Shelves and Rods: Closets often collect dust during construction but can be easily overlooked.
Baseboards and Crown Molding: Pay attention to cleaning all trim and molding, which often gets caked with dust during construction.

Professional Cleaning Services vs. DIY
While some San Jose homeowners may choose to tackle post-construction cleaning on their own, others may prefer to hire professional cleaning services to ensure every detail is handled properly. A professional cleaning crew will have the expertise, tools, and experience to remove even the most stubborn construction debris.
Whether you opt for professional services or do it yourself, a thorough post-construction cleaning will ensure your home is safe, clean, and ready for you to enjoy. By following this comprehensive checklist, San Jose homeowners can confidently transform their construction site into a fresh, livable space.