Watch a professional clean a window and you'll notice what's missing: no blue spray bottle, no paper towels, no elbow grease. A bucket, a squeegee, a couple of cloths — and glass that looks like it isn't there. Streak-free windows aren't a product you can buy; they're a technique, and the technique takes about ten minutes to learn.
Why your windows streak
Streaks are residue — of the cleaner itself, of dissolved dirt smeared in circles, or of minerals left behind by evaporating water. That third one matters in the South Bay: our hard water dries into visible mineral haze, which is why windows washed with a garden hose look worse after they dry. The entire pro method is engineered around one idea: the water leaves the glass by blade, not by evaporation.
The kit and the mix
A squeegee with a fresh rubber blade (the whole game — a hardware store one is fine, a worn blade is not), a bucket, a scrubber or soft microfiber for applying, two lint-free cloths, and for the solution: a squirt of dish soap in a bucket of water. That's the professional mix. The soap loosens grime and lubricates the blade; anything more is more residue. For glass with mineral spotting, a 50/50 vinegar-water pass first dissolves the haze — then the soap round as normal.
The technique
- Pick your weather: cloudy. Direct sun flash-dries the solution mid-stroke — the number-one cause of streaked "clean" windows. Overcast mornings are professional window weather.
- Dust first, dry. Brush or vacuum the frame, sill, and tracks before water turns that grit into mud that migrates onto the glass.
- Scrub the glass with the wet scrubber — edges and corners deliberately, since that's where grime anchors.
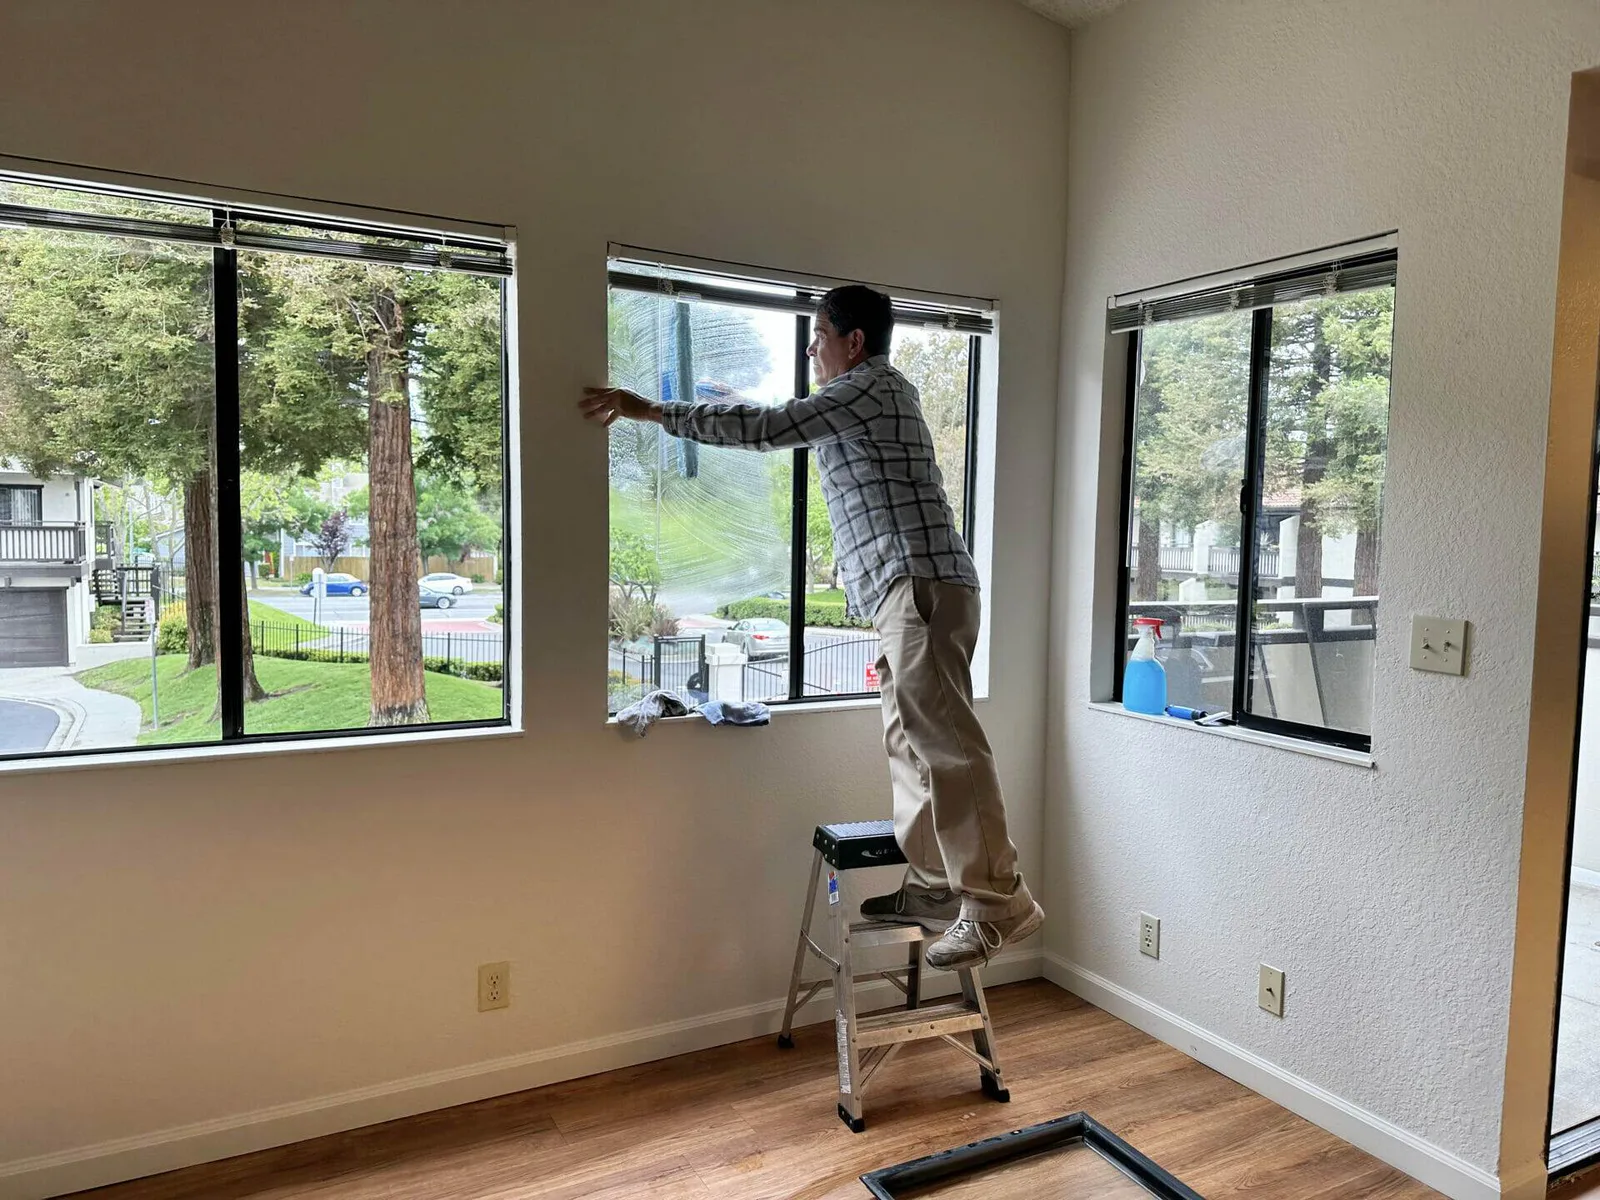
- Squeegee in overlapping strokes — top-down columns, or the pro's snake pattern once you're comfortable — wiping the blade with a cloth after every stroke. A wet blade redeposits; this one habit is most of the difference between amateur and professional results.
- Detail the edges with the dry cloth: a finger-width pass around the perimeter where squeegee strokes leave a hairline of water.
- Tracks and sills last, once the dirty water has dripped its worst.
Inside, the same method with less water on the scrubber (and a towel on the sill). If you'd rather spray-and-wipe indoors, use microfiber — never paper towels, which shed lint and push residue around — and buff dry immediately.
Hard-to-reach glass, honestly
Second-story exteriors are where the DIY math changes. Extension-pole squeegees handle a lot from the ground; what they don't handle, a ladder does — and a ladder plus water plus reaching sideways is how window cleaning becomes an ER story. The honest rule: anything you can't reach with both feet on something stable is professional territory, and it's not a close call.
Keeping them clean longer
Twice-a-year deep cleans (spring, after the rains; fall, after the dry season's dust) hold most homes — it's a natural line on the spring reset list → The San Jose Spring Cleaning Checklist (One Weekend, Whole House) Between them: dust sills monthly when you dust the room, run the vinegar pass on shower-adjacent or sprinkler-hit glass when spotting appears, and rescreen the mental note that clean windows are the cheapest renovation in existence — every room looks better through them.
Interior windows and sills are part of our deep cleaning visits, and move-in/move-out cleans include the glass that makes an empty home show right → Deep cleaning service · Move-in and move-out cleaning